


Most people think it’s a complicated process to create their own website. I will show you step-by-step how you can step your own website (hopefully a Pet Related Website) in less than 10 minutes.
The entire process will involve two parts:
- Signup for a Hosting Account (Steps 1 – 4): This is where your website will be hosted. As a bonus you will be able to install multiple website on one hosting account. So hopefully you can setup an website for your Pet or family activities.
- Install WordPress (Steps 5 – 9): WordPress makes adding and organizing content as easy as point and click. It also gives you the ability to add a lot of features and change the theme (the look) whenever you like. This website run’s WordPress with a custom theme. Once your site is up, all you have to do is add post and content (Documents, pictures, videos etc).
Phase One: Click Here to Signup For A Hosting Account
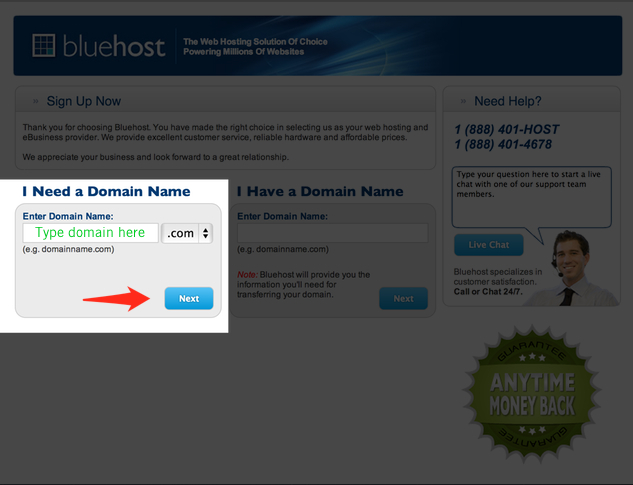
Step 1: Click Sign Up Now On Bluehost.com’s Home Page
You start by clicking this Bluehost link, then click “Sign up!” at the bluehost website:

Step 2: Type In Your Desired Domain Name – And Click Next
Type in your desired domain name (your new website name, e.g “mywebsitename.com”). I’d try to stick with .com because it’s the most popular domain extension.
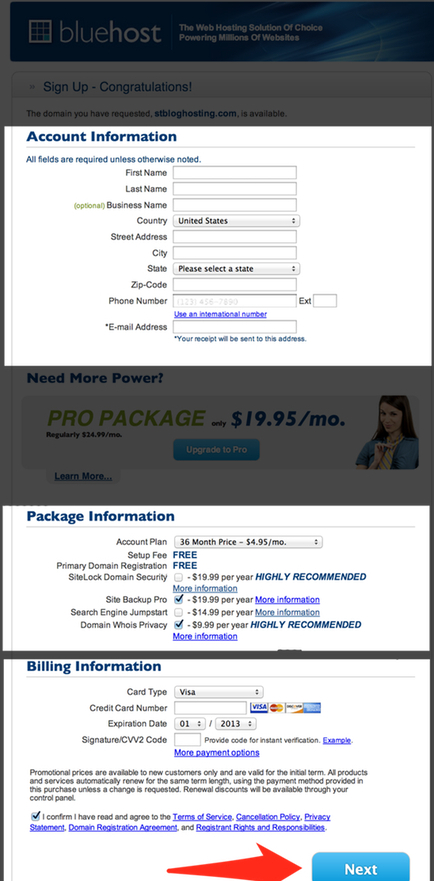
Step 3: Fill In Your Account Information (Web hosting is Cheap)
This is where you fill out your account details. You’ve got to pay for web hosting but It’s inexpensive and you can pay with credit card or paypal.
When you get to this page, you’ll notice a section called “Package Information.” These add-ons cost extra, however I would DEFINITELY get the “Domain Whois Privacy” at the minimum. This keeps your personally identifiable information private — protecting your information from the web.
Step 4: Create Your Password (The best way to create a password below)
Now you need to create your password. Try to create a password that contains lowercase letters, uppercase letters, a symbol, and a number. And make sure it’s at least 8 characters.
Once you click create your password, you’ll be redirected to this page here:
That’s where you create your password.
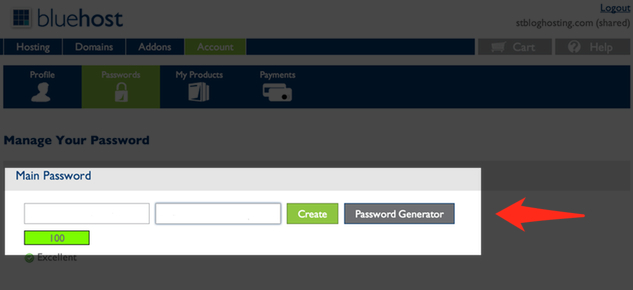
Once you create your password you will be directed to the login page.
Phase Two: Installing WordPress
You now have a fully functioning hosting account CONGRATS. Now you have to install WordPress so you can have point and click functionality to manage your website (No coding). I have included a step-by-step guide that walks you through this phase.
Step 5: Login to your newly created Bluehost Account — You’re almost done

Step 6: Create Your WordPress Blog
Now’s the time to create your NEW WordPress blog. It’s going to take you like 60 seconds.
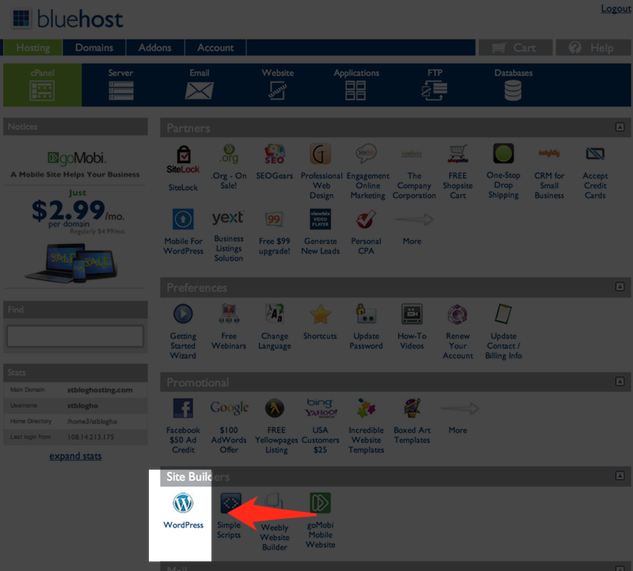
First, make sure you’re looking at your control panel. This is under Hosting > cPanel.
Then scroll down a little bit and click the WordPress icon. See it here:
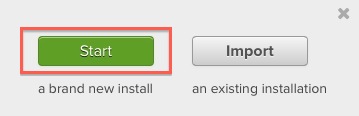
Step 7: Start WordPress Installation
Click the Start button on the next page.
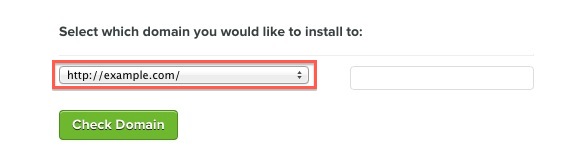
Step 8: Choose the domain name to install it to .
You will see your domain name in the list. Select it and click Check Domain. This will verify that your domain exist and is ready for install.
Step 9: Fill in the Name you Website and create your website admin username and admin password.
In the next screen you Click the “show advance options” (see below) and fill in :
- Website Name: e.g “My first Website” (you can change this later).
- Username: This is the name you want to use to manage the website
- Password: This is the password you want to use to enter your website
- Email address: Where you want to receive emails from your website
Check the box for the Agreement: Read through the license and service agreements if you have time and check the boxes.
Select the Install Now button.

The install competes and you can now access your wordpress website by visiting the link provided.
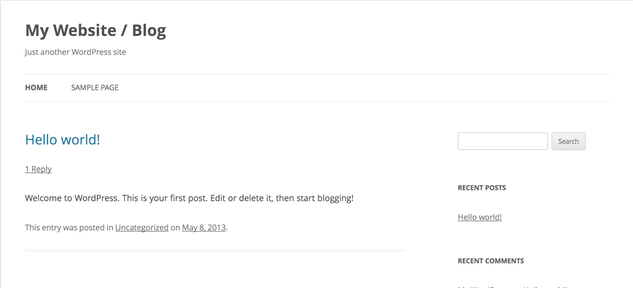
Congrats !! you now have your own website. Time to login and post your first article
Step 10: Bonus! Videos
Now that you have your own website, you may want to change the look and get to know WordPress. These videos will walk you through the basics, Enjoy.
Bonus 1
Bonus 2
Bonus 3
Bonus 4
Bonus 5
Thanks for visiting www.catdandruffclinic.com, if you liked this article please like us using the side bar .
Related Posts:
Comments are closed.